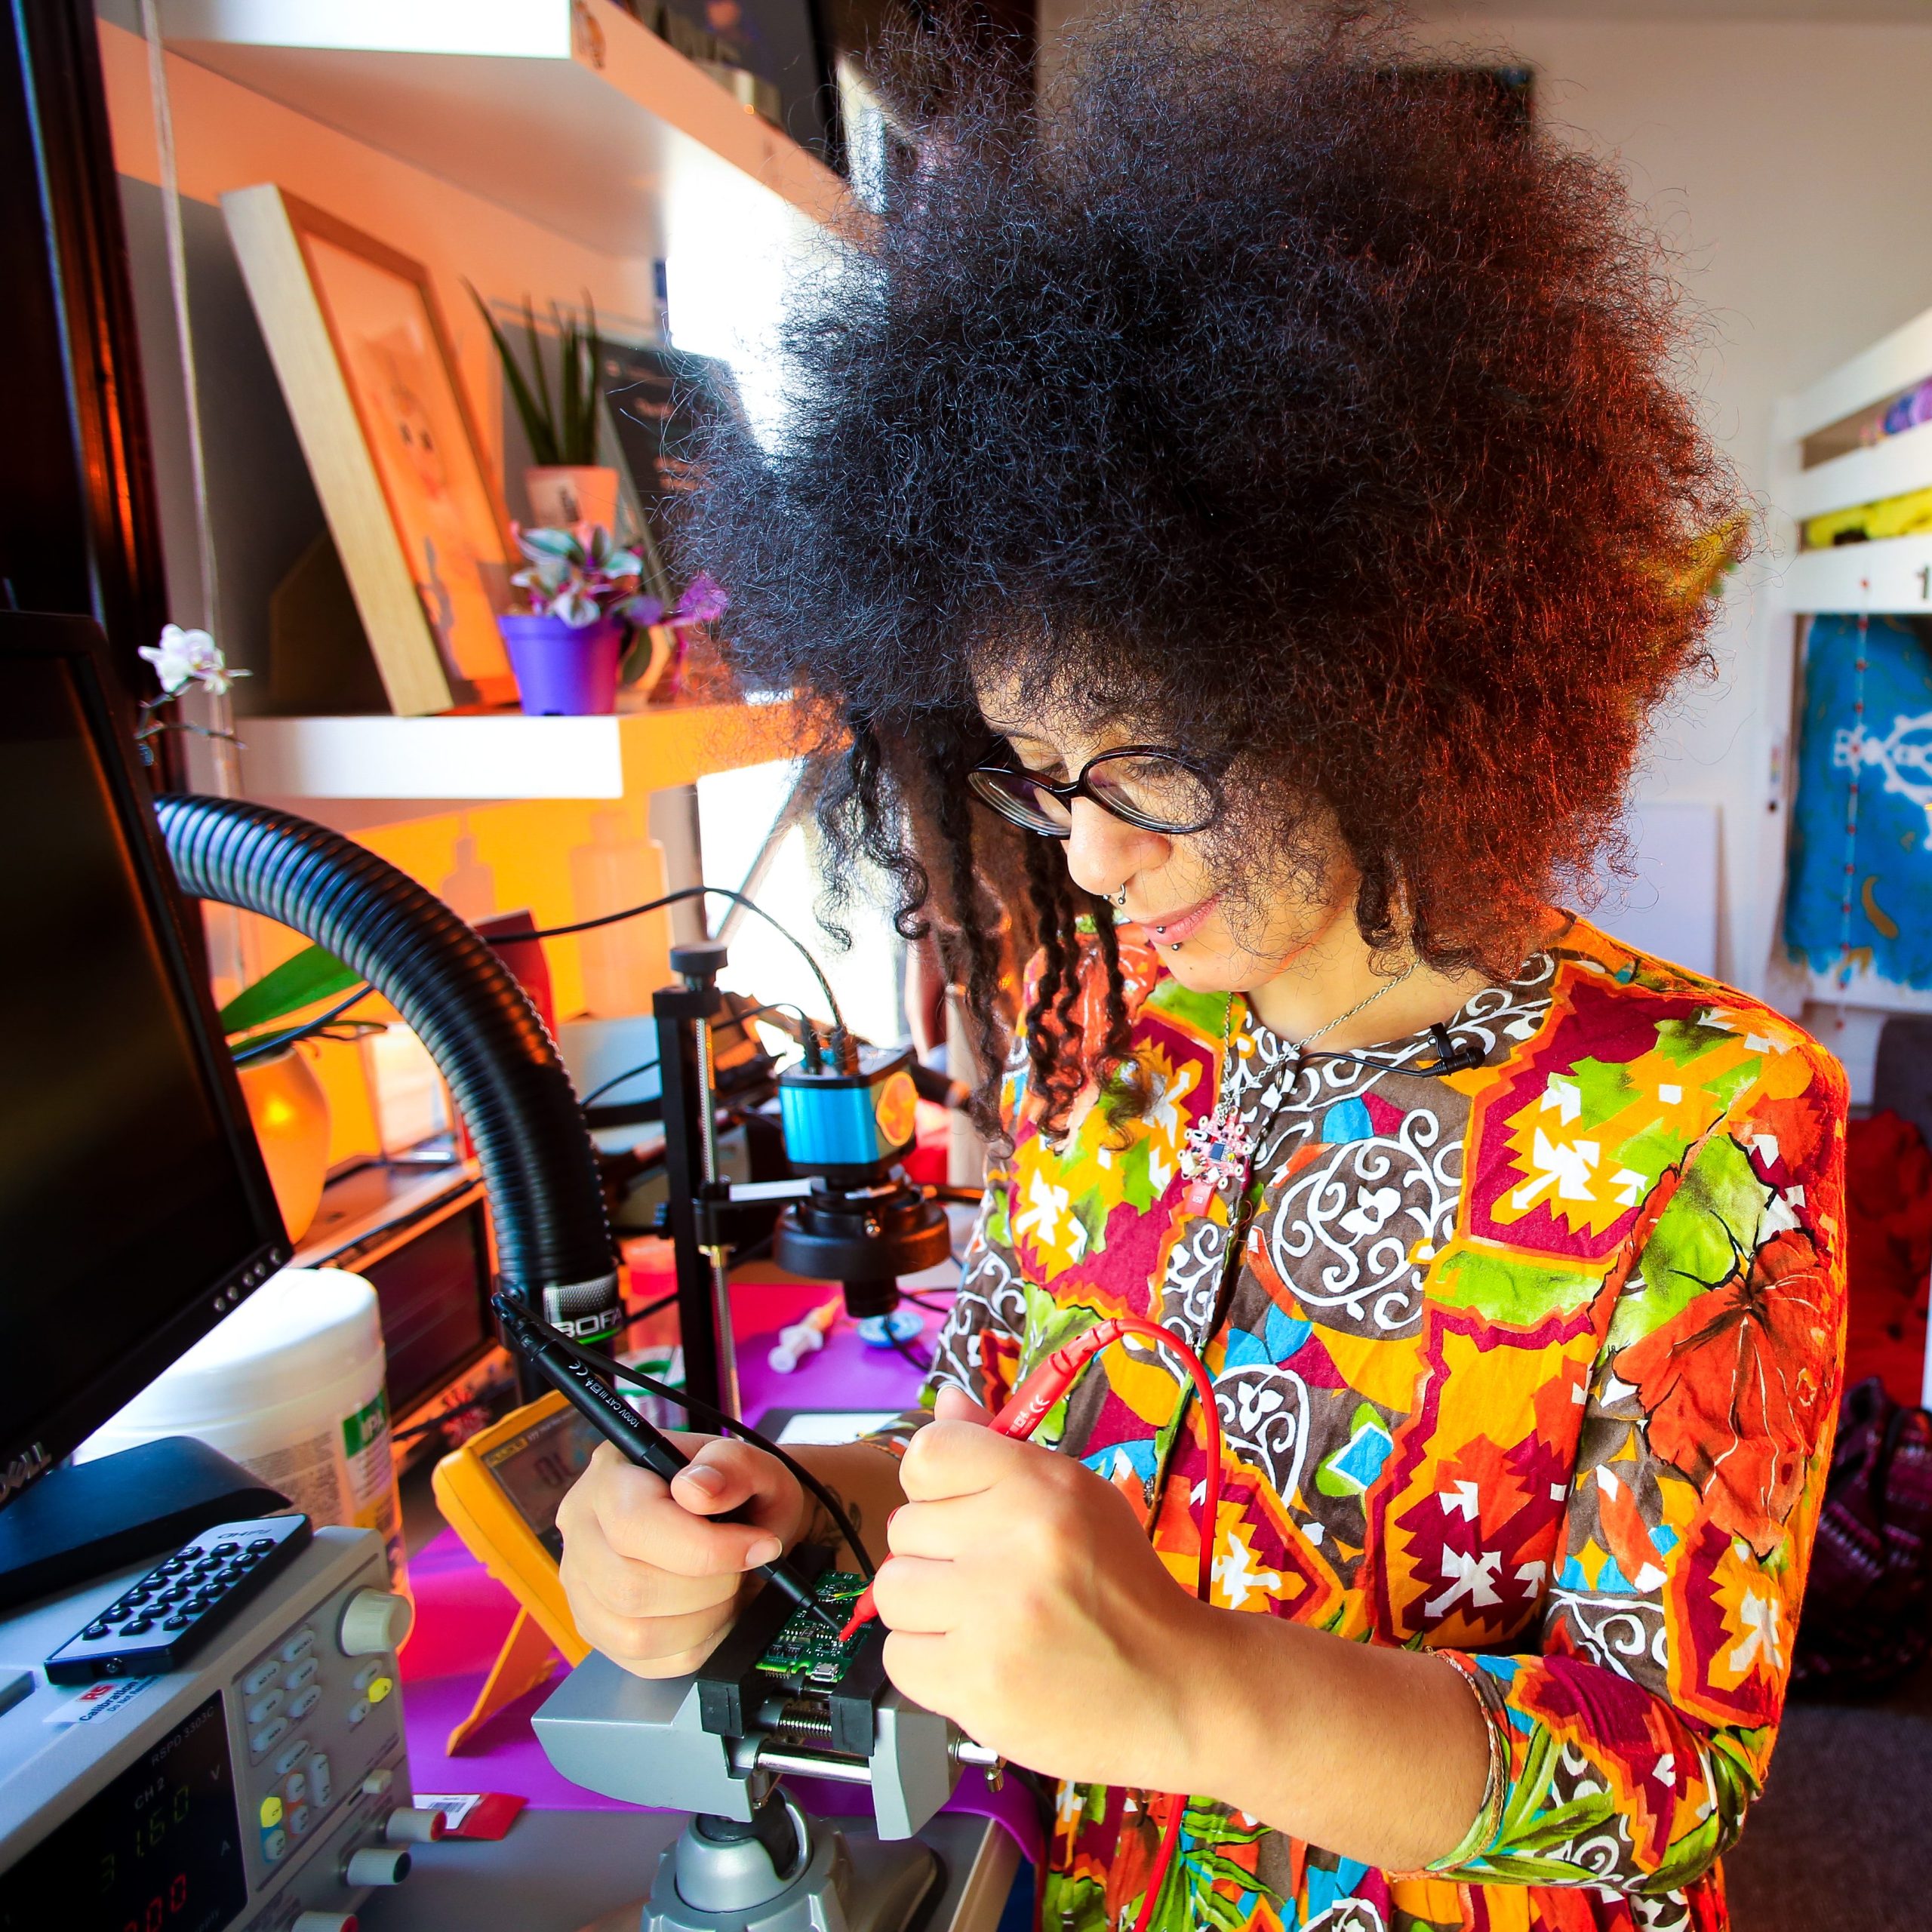
Welcome to the Shrouk El-Attar Digital Studio! I am a neurodivergent British-Egyptian artist, engineer, and creative technologist, aiming to create a digital space where cultural heritage meets cutting-edge technology ✨?
My studio specialises in creating interactive AI-driven art installations and non-binary belly dancing robots. I am super committed to decolonizing technology and making engineering accessible to underrepresented communities, including refugees and disabled individuals.
Thank you for taking the time to stop by and feel free to leave a comment! Let’s inspire and empower others to explore the fusion of creativity and technology, breaking down barriers and redefining the future of art and tech! ????
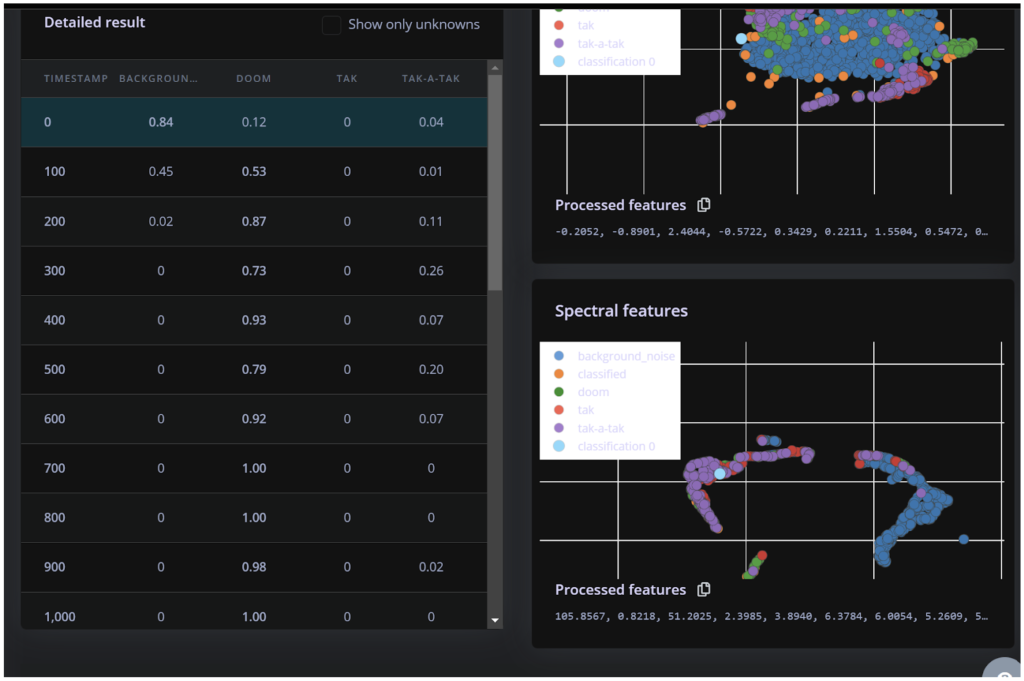


![Edge Impulse interface for sound recognition model creation. Screen shows "[3/10] Collecting some data" with instructions to record "Hey Shrouk" samples. A colorful circular progress bar indicates 0 seconds of recording remaining.](https://lh7-us.googleusercontent.com/docsz/AD_4nXfF8XOEavDrc24NBDsW2cPRzD5zCJby6k_ziCCrMcUk9ZfikXTPyrwPwo3vF2w2Vf_Xbmc8eHEpiPJB3VY9vqzb4uzyC-tTygYx0zWNmqVukVvuHBnSmxpH4oRaIltDdj65GPtE1GHe-RZpoHcTdTKwoBXT?key=G1dn1c8NNtUPipQC_SQ_6w)